The Singing Tree arrives largely assembled, so can get up and running quickly. There are just two steps to complete once you unpack it:
- Remove the Tree from the PCB panel
- Attach a connector or wire to the 3 pins near the bottom
Removing the Tree from the panel
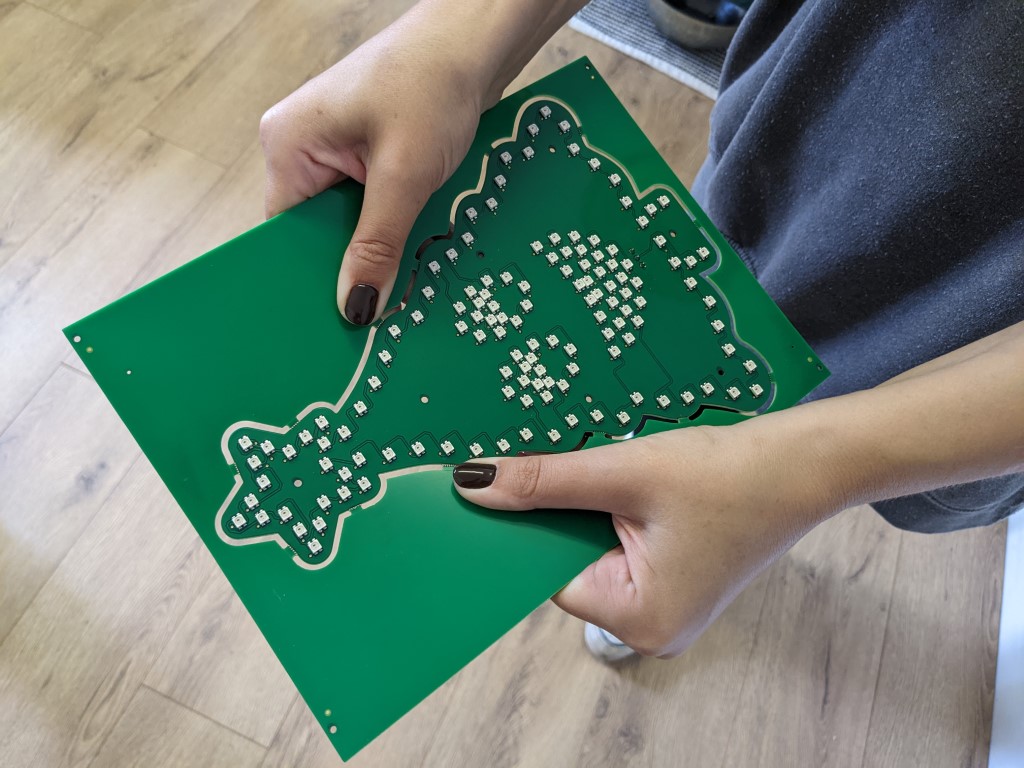
If your tree has arrived in a rectangular panel, it is quick and simple to remove it. It is connected with "mouse bites" which break when a little force is applied.
First, gently bend the panel along the long side of the tree. Flex the panel back and forth until the four mouse bites along both edges have snapped.
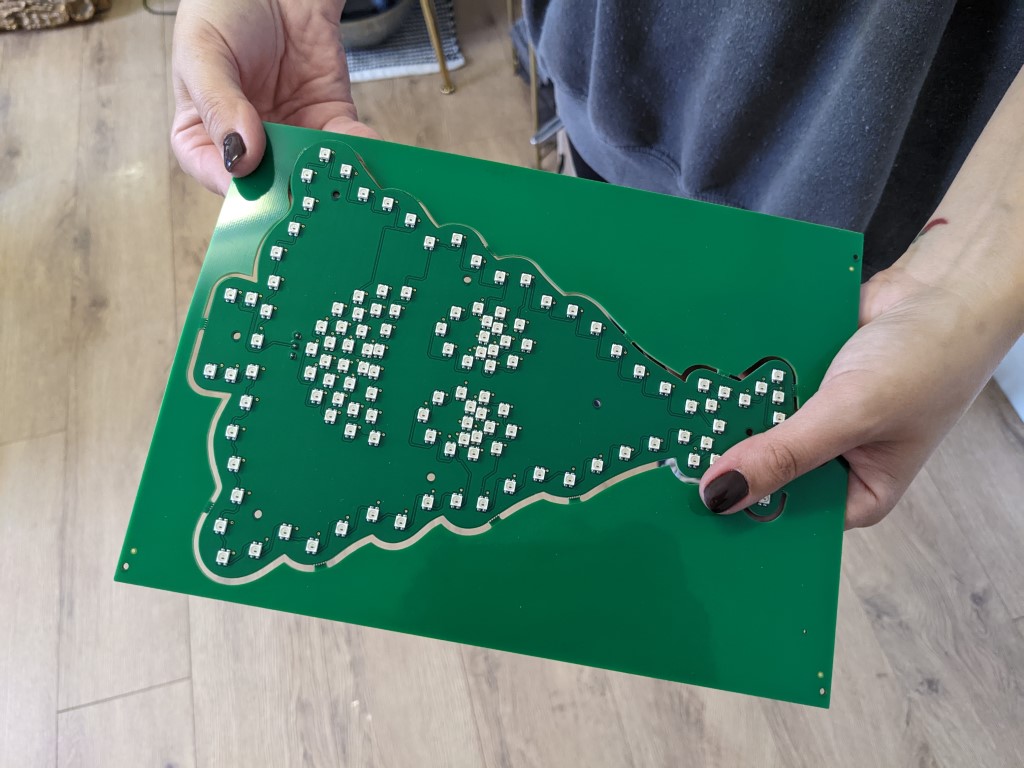
Next, gently bend the panel on the bottom corners to relerase the bottom three mouse bites. The tree's trunk can be a bit fiddly!
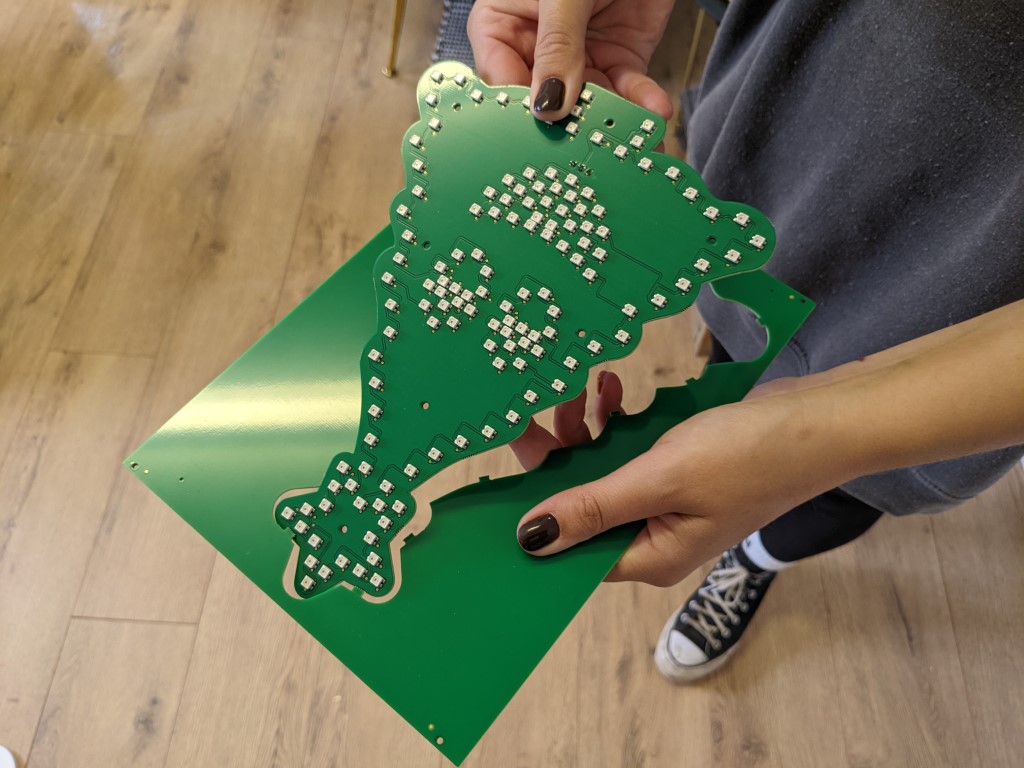
Finally, hold the bottom of the Tree and gently lever it out of the panel. The mouse bites holding the star will break, leaving you with your new Singing Tree!
Attaching a wire or connector
This step is slightly more involved, and requires a little bit of soldering.
(TODO: overview of alternatives)
(TODO: photo of connector)
(TODO: required tools and materials)
(TODO: setup)
(TODO: photo)
(TODO: check connection)
Next steps
Congratulations!
Your Tree is ready to light up. Connect it to any WS2812 LED driver for immediate results, or view one of these guides to get going with a pixel controller and some example code:
- (TODO: guide using Pixo)
- (TODO: guide using pico on its own)
- (TODO: guide using plasma)
- (TODO: guide using falcon/xlights)
Have fun!